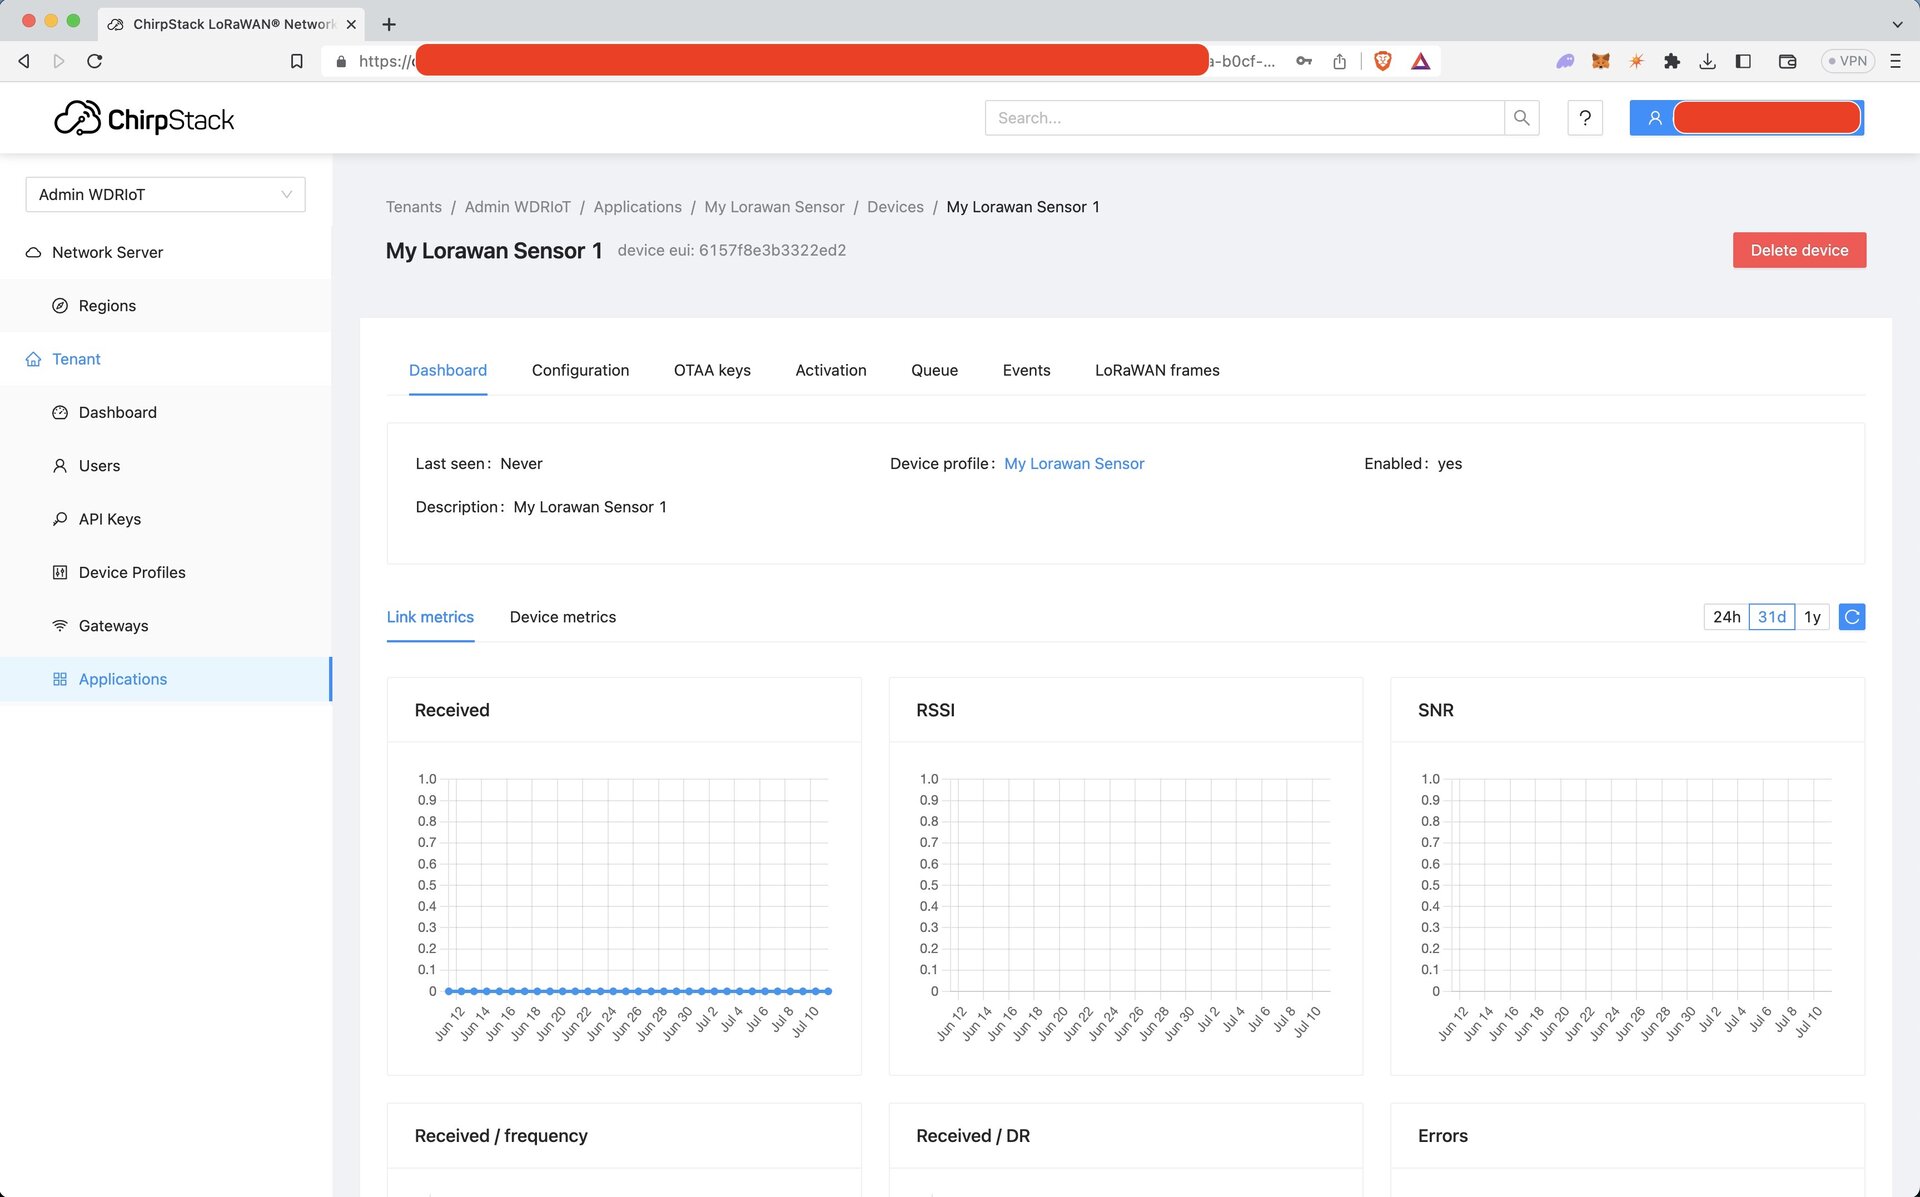
Add Device to ChirpStack via Console
Adding a device to your ChirpStack console for the first time is currently a three-step process. Each device needs a device profile and must belong to an application. Integrations are currently handled at the application level for devices.
- Create a Device Profile or Select from Templates
- Create an Application
- Create a Device in the Application
After adding a device to ChirpStack, take note of the Device EUI and Join EUI values in order to Configure Device in Helium Config Service.
Create Device Profile
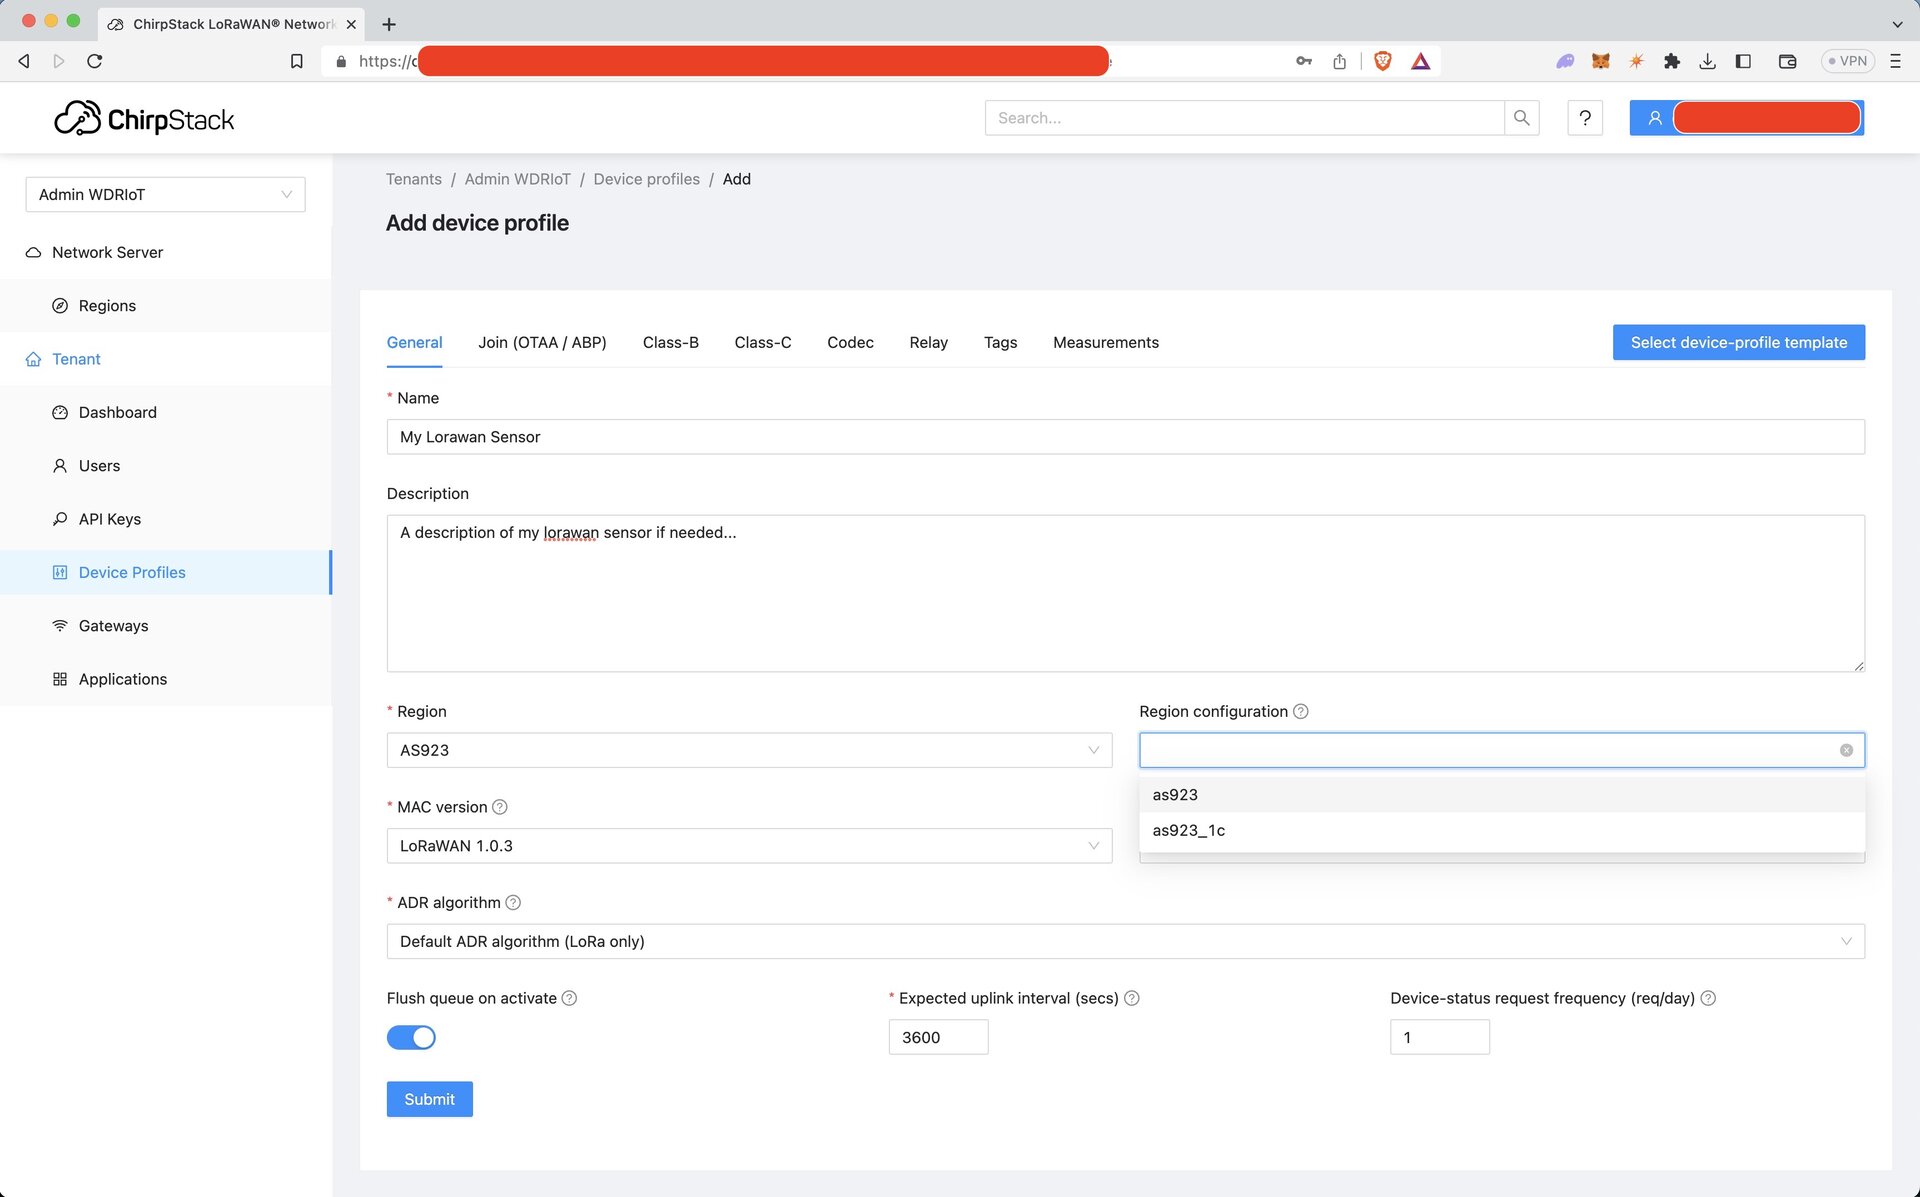
Device Profiles -> Add Device Profile
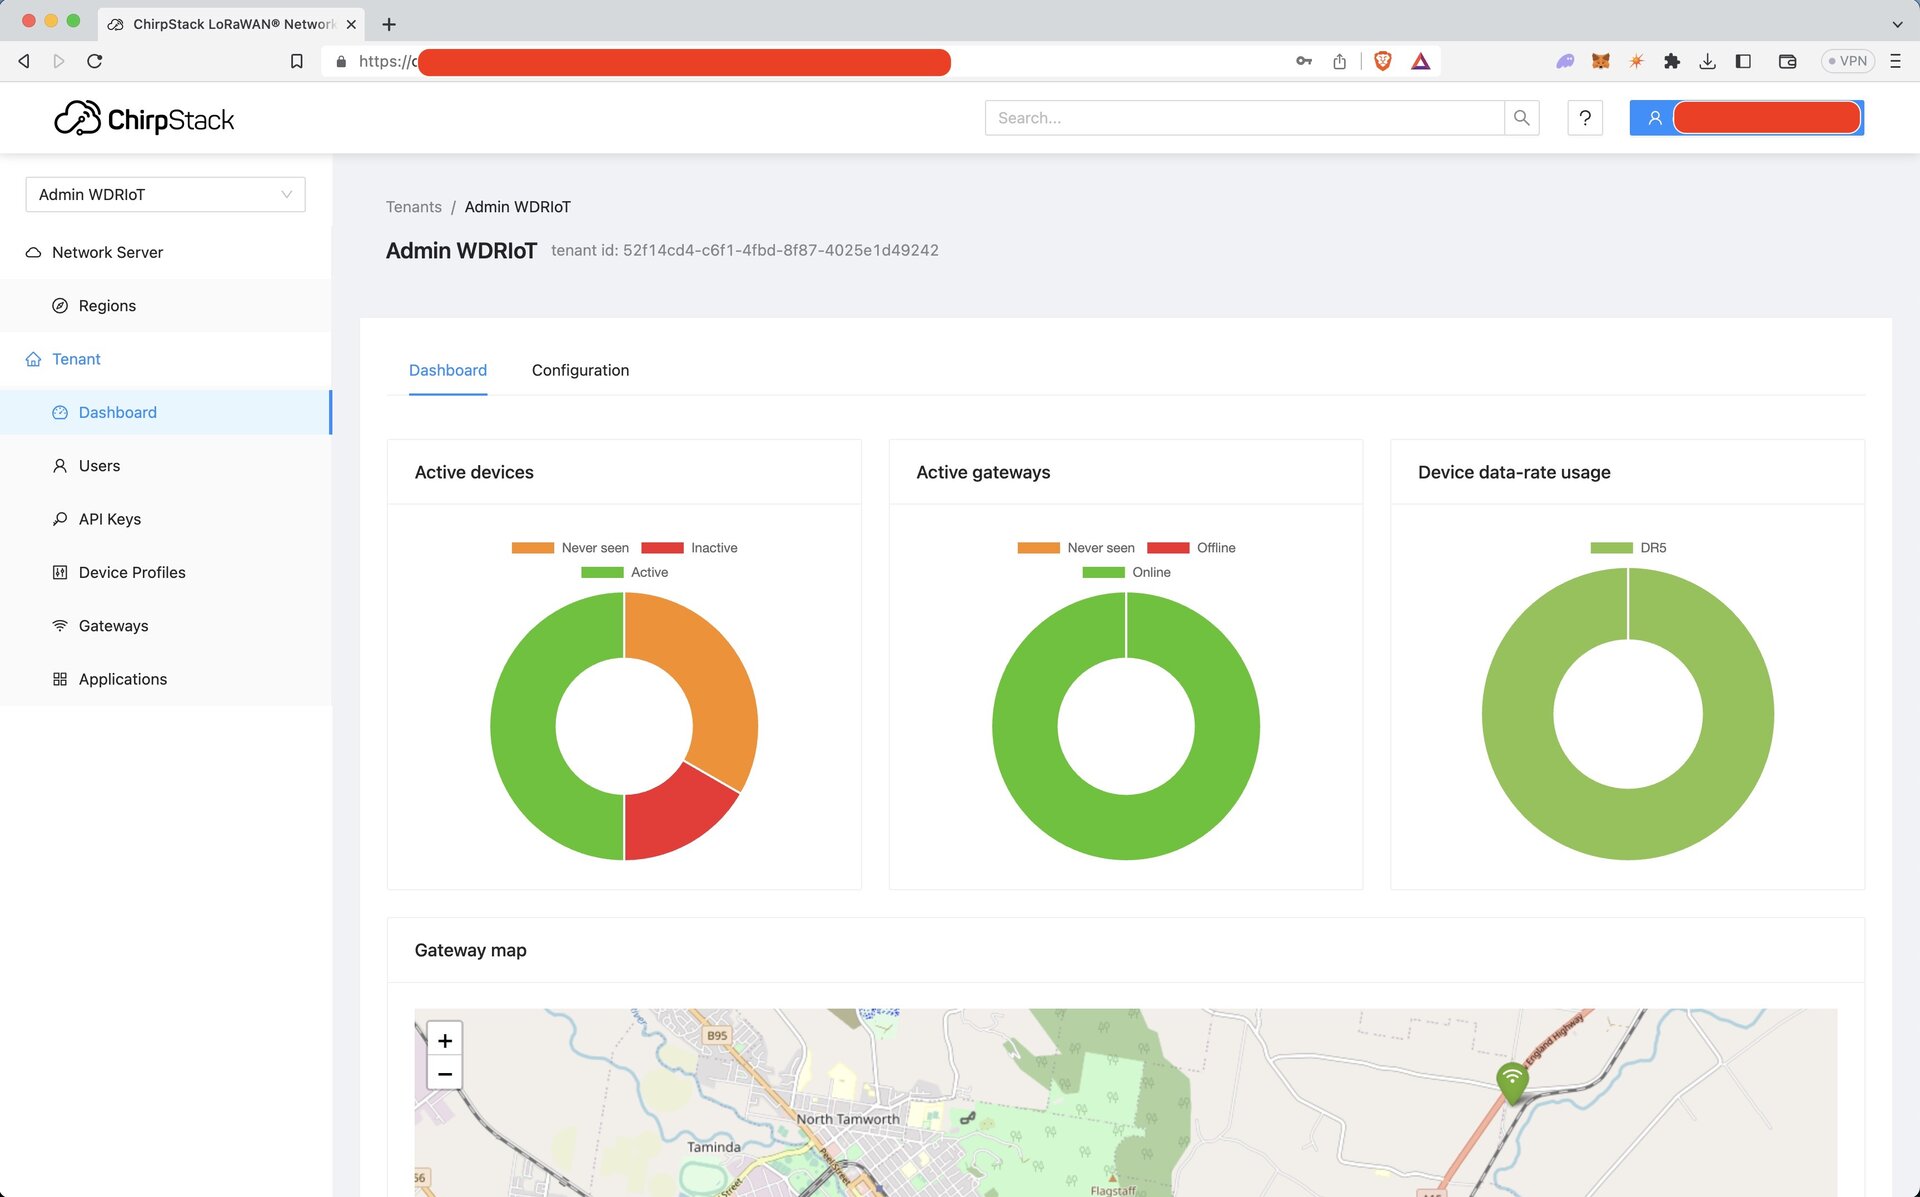
From the dashboard click on Device Profiles.
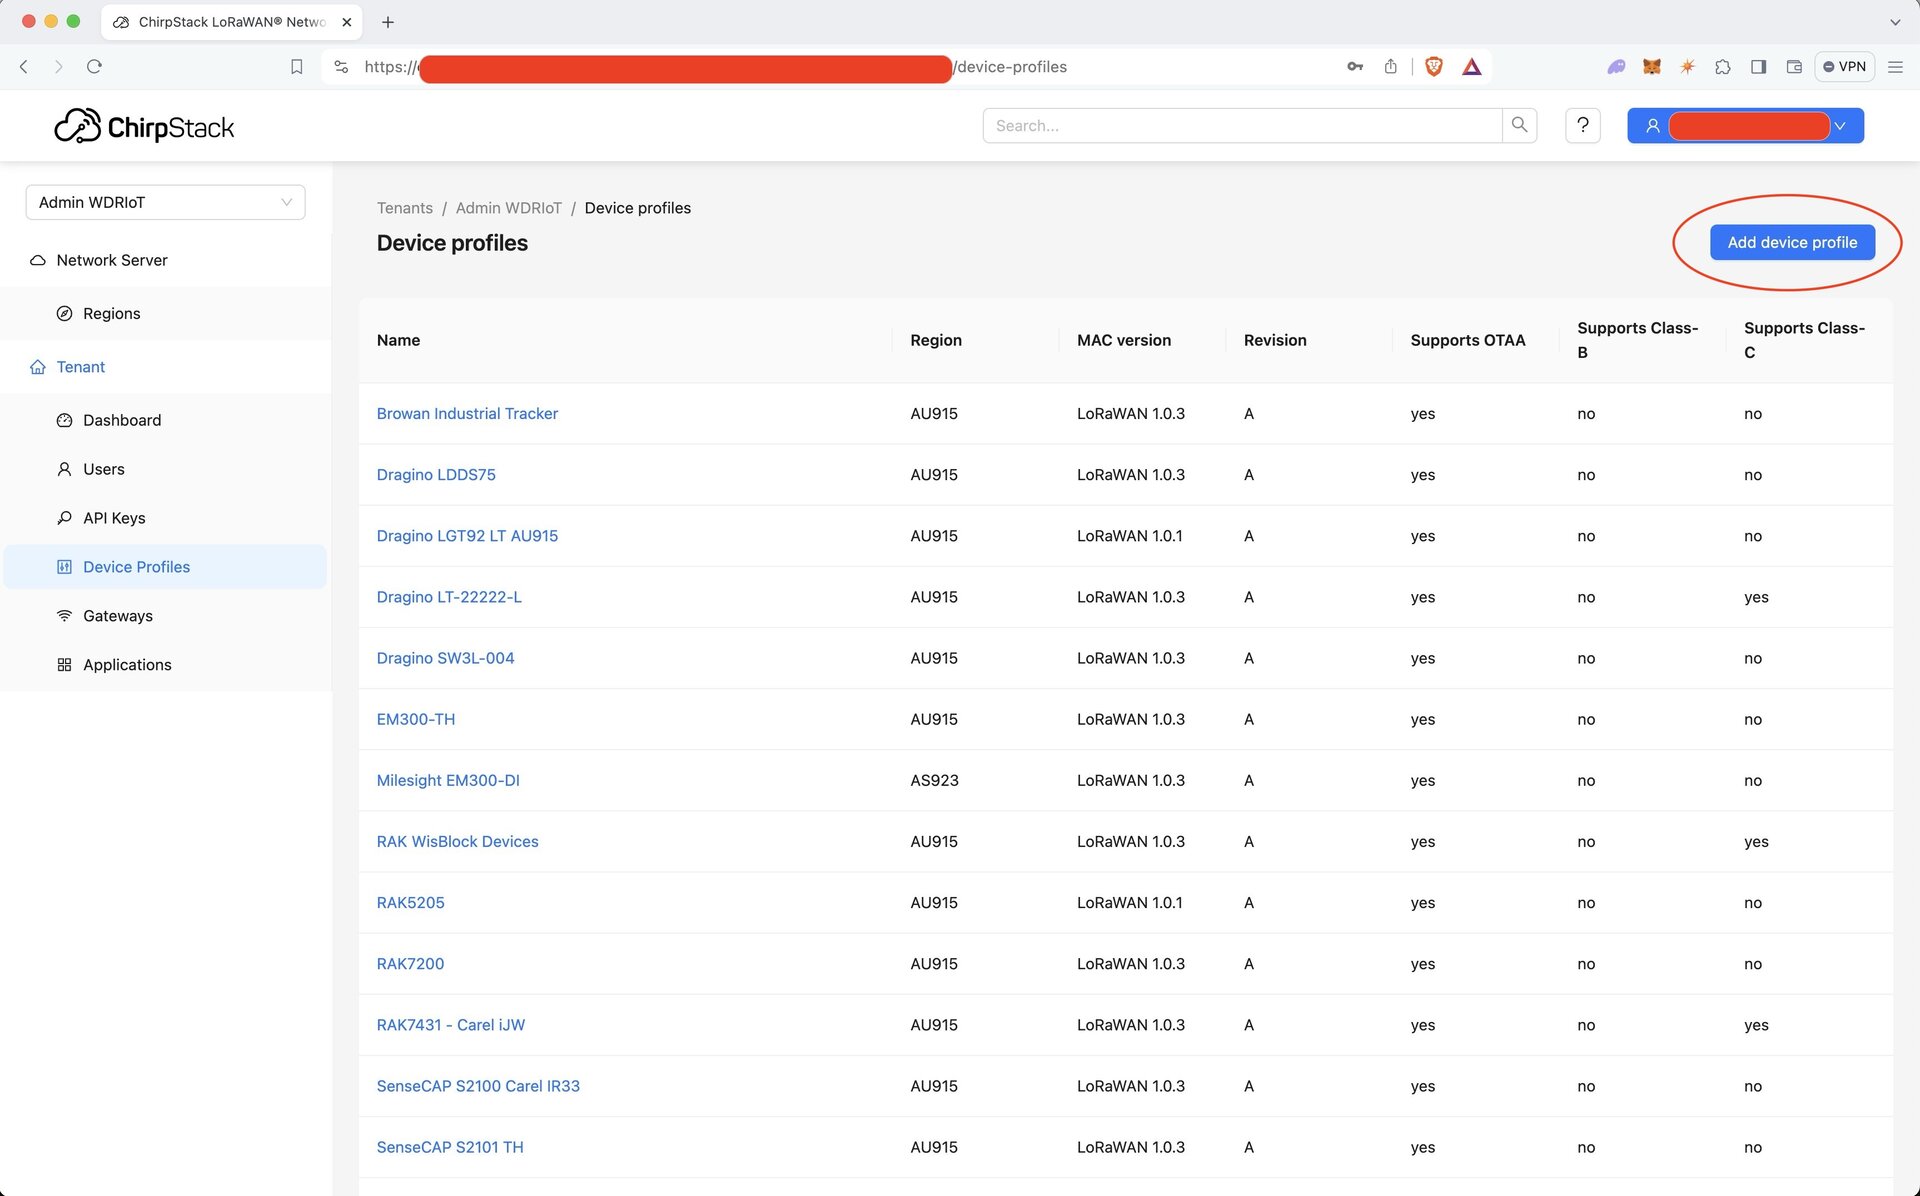
From Device Profiles click on Add device profile.
From here you can either create a new device profile or select one from the device-profile templates if they're available.
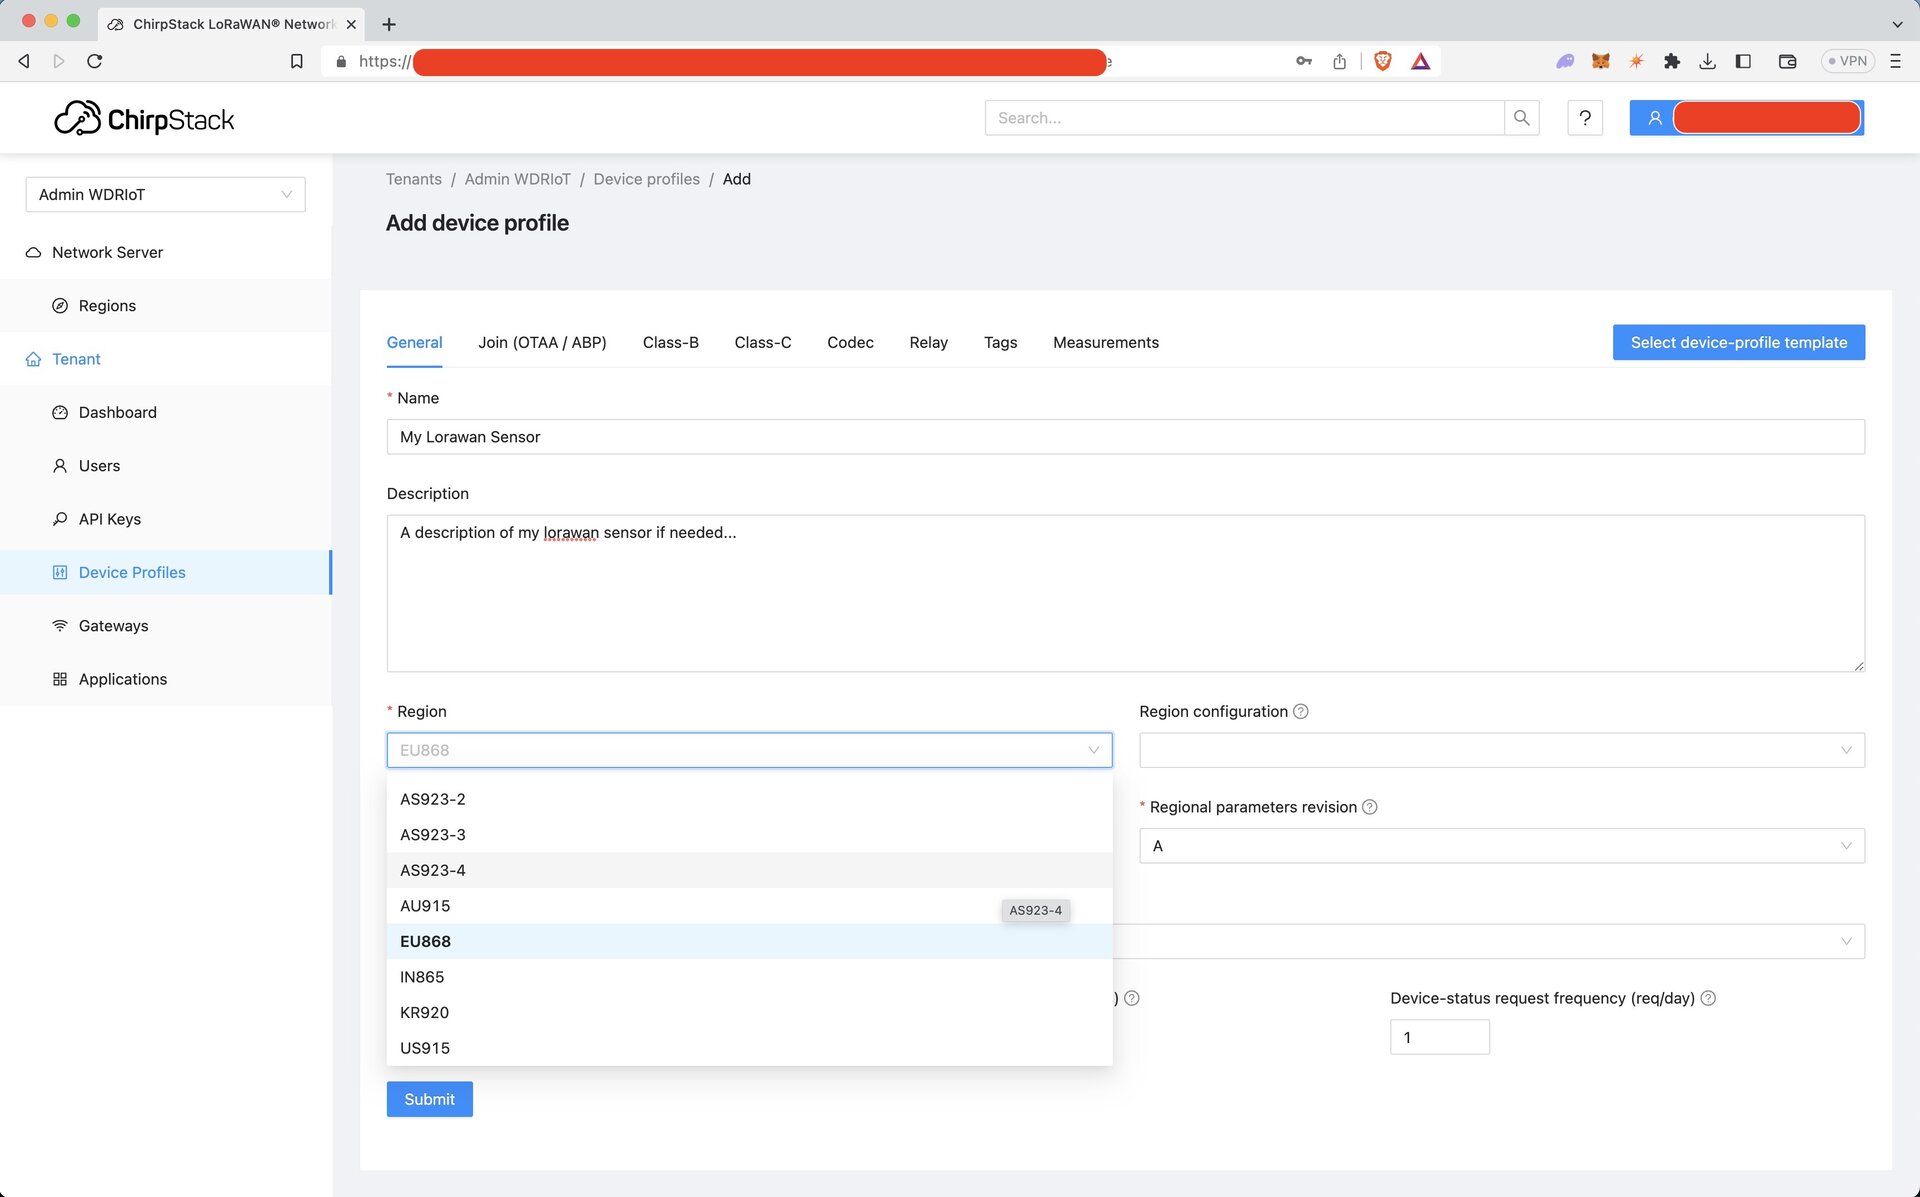
Click Submit to add your new device profile.
Create Application
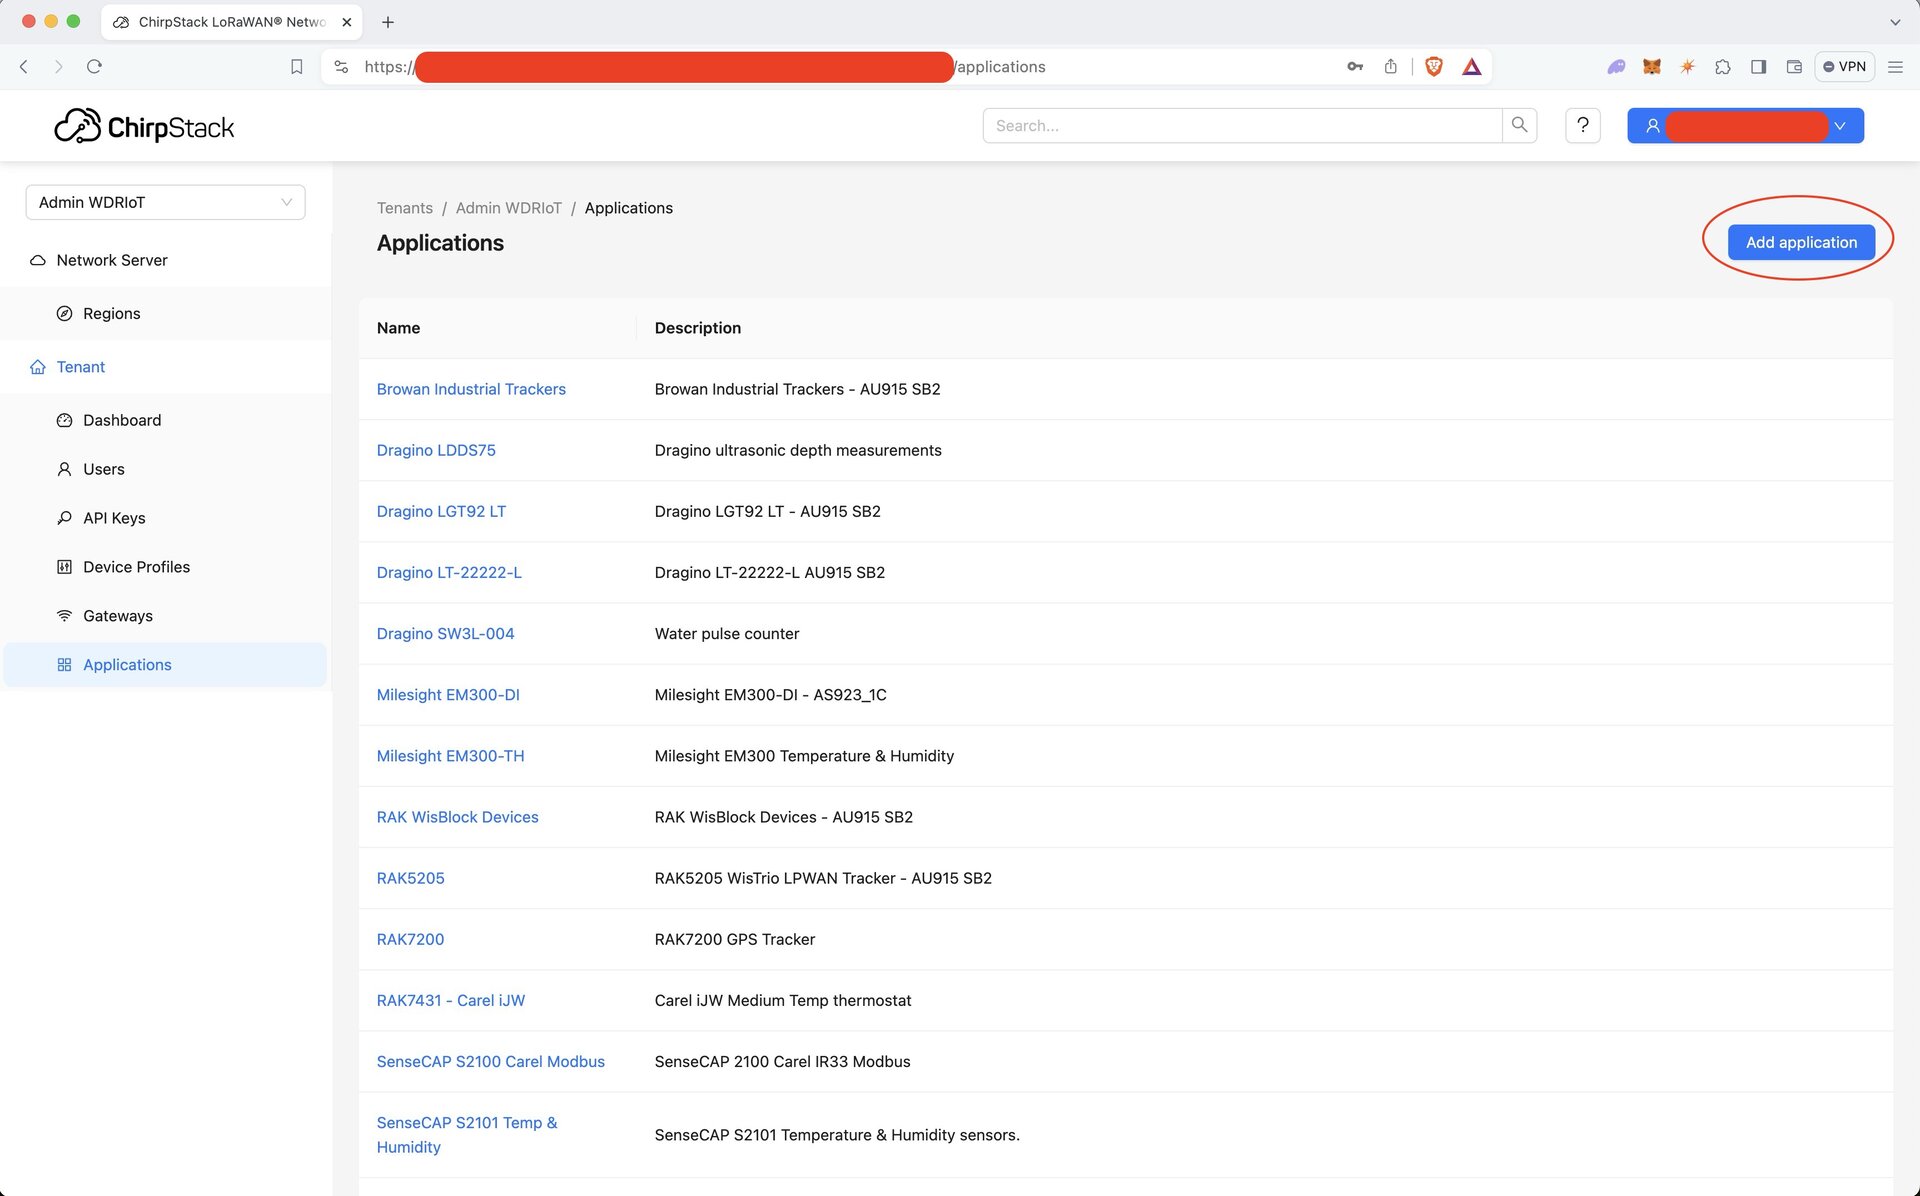
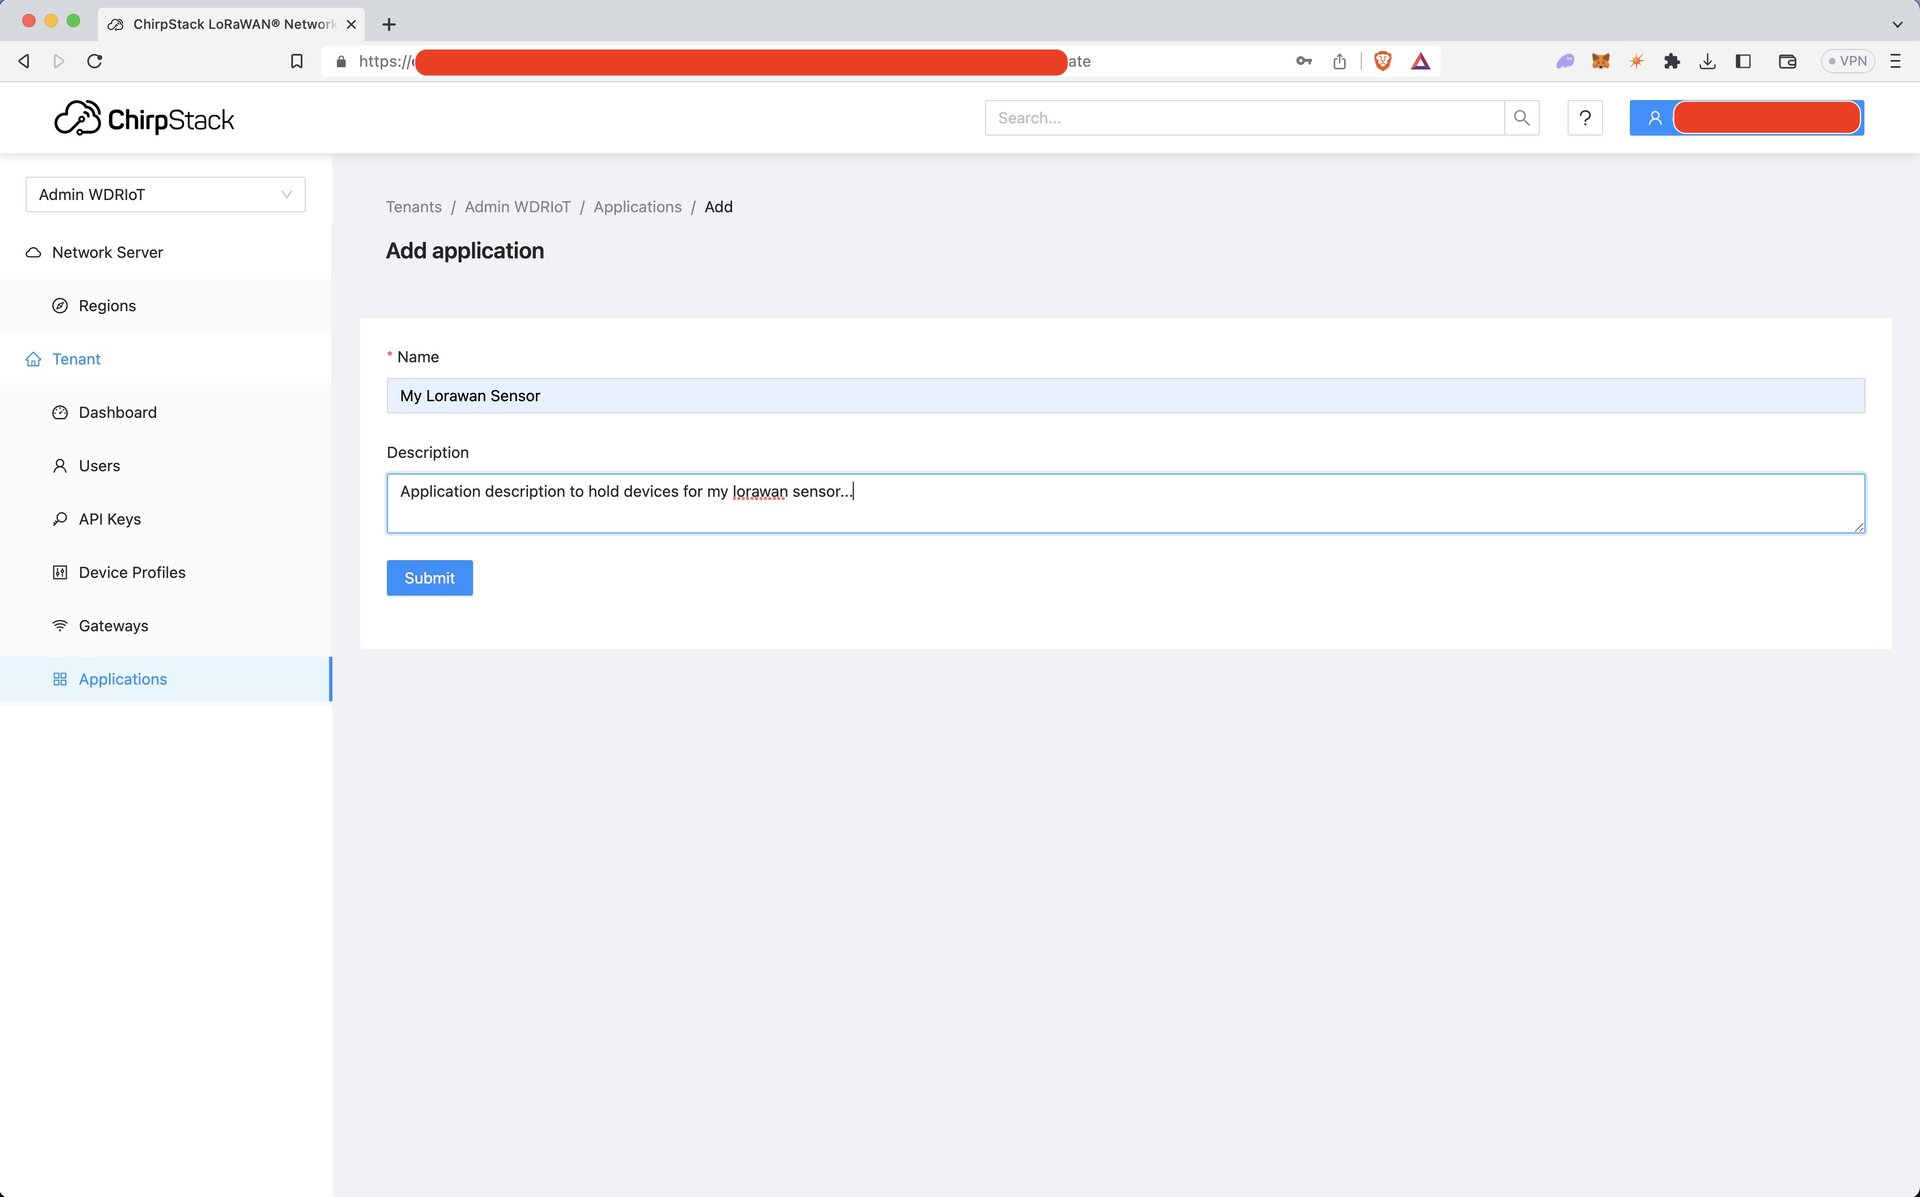
Applications -> Add Application
From the Applications sidebar menu, click Add Application.
Create the application with a name and description.
Create Device in Application
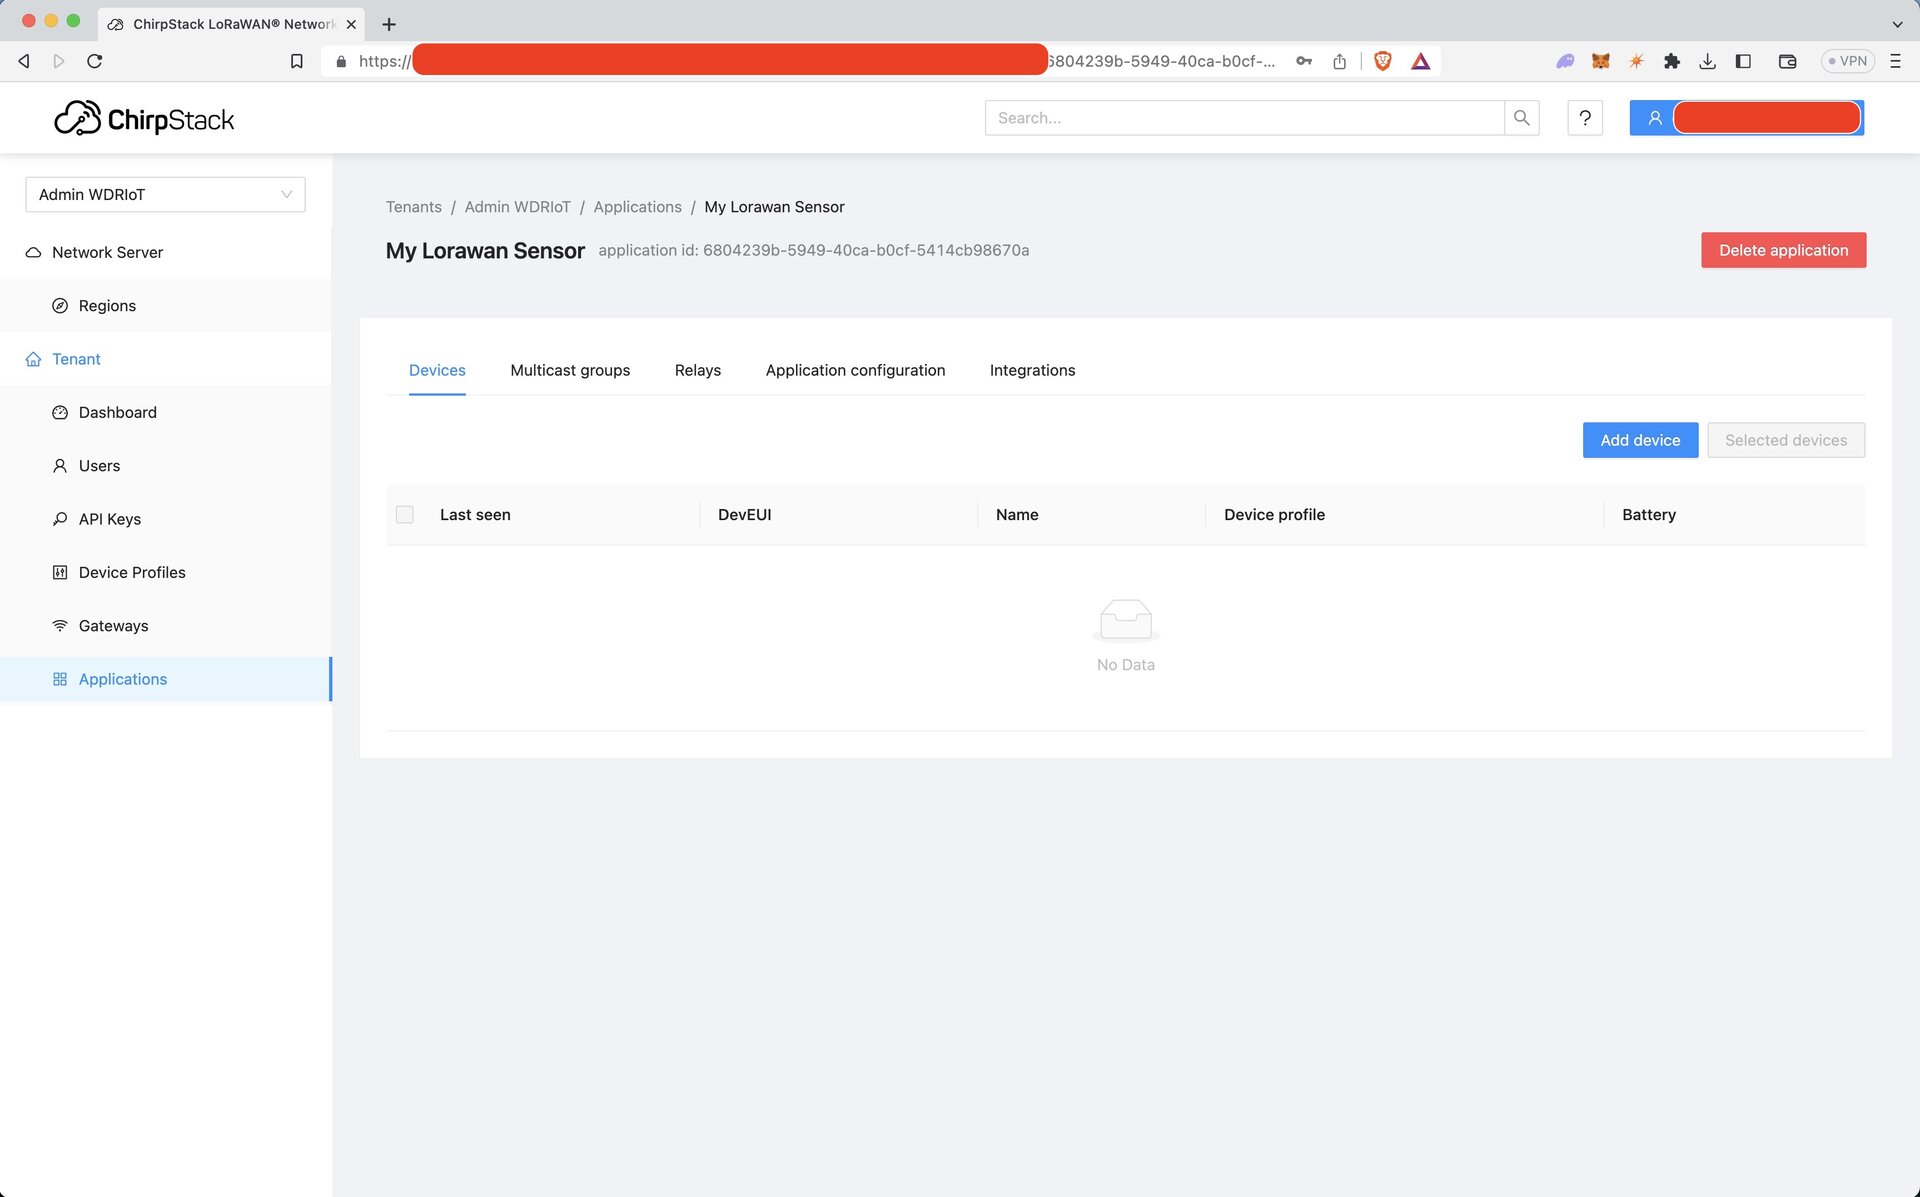
Application -> Application-Name -> Add Device
Select your Application and click Add Device.
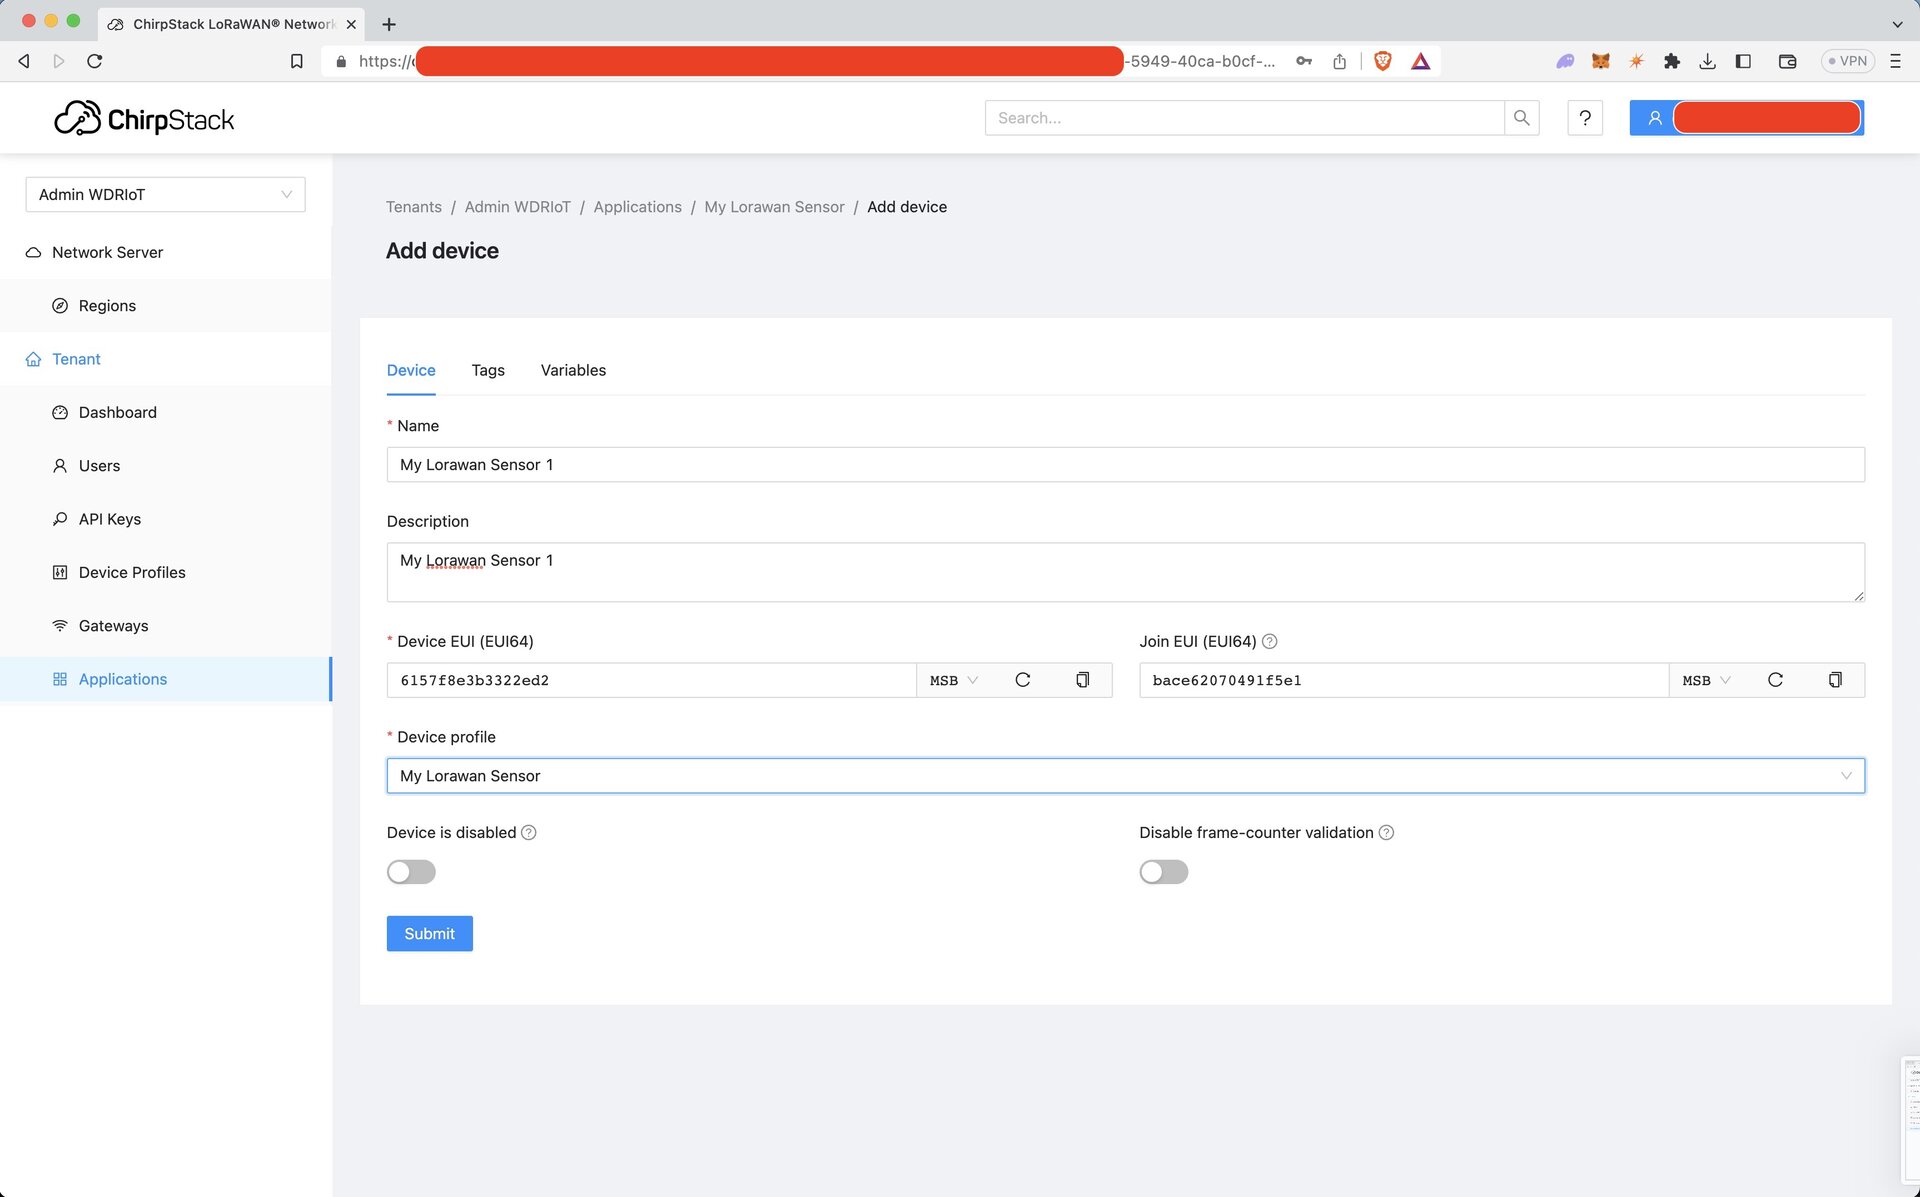
Fill in your device details and select the device profile you made earlier. A Device EUI can be
entered from a pre-provisioned device, or a fresh one can be generated by pressing the ↻
button.
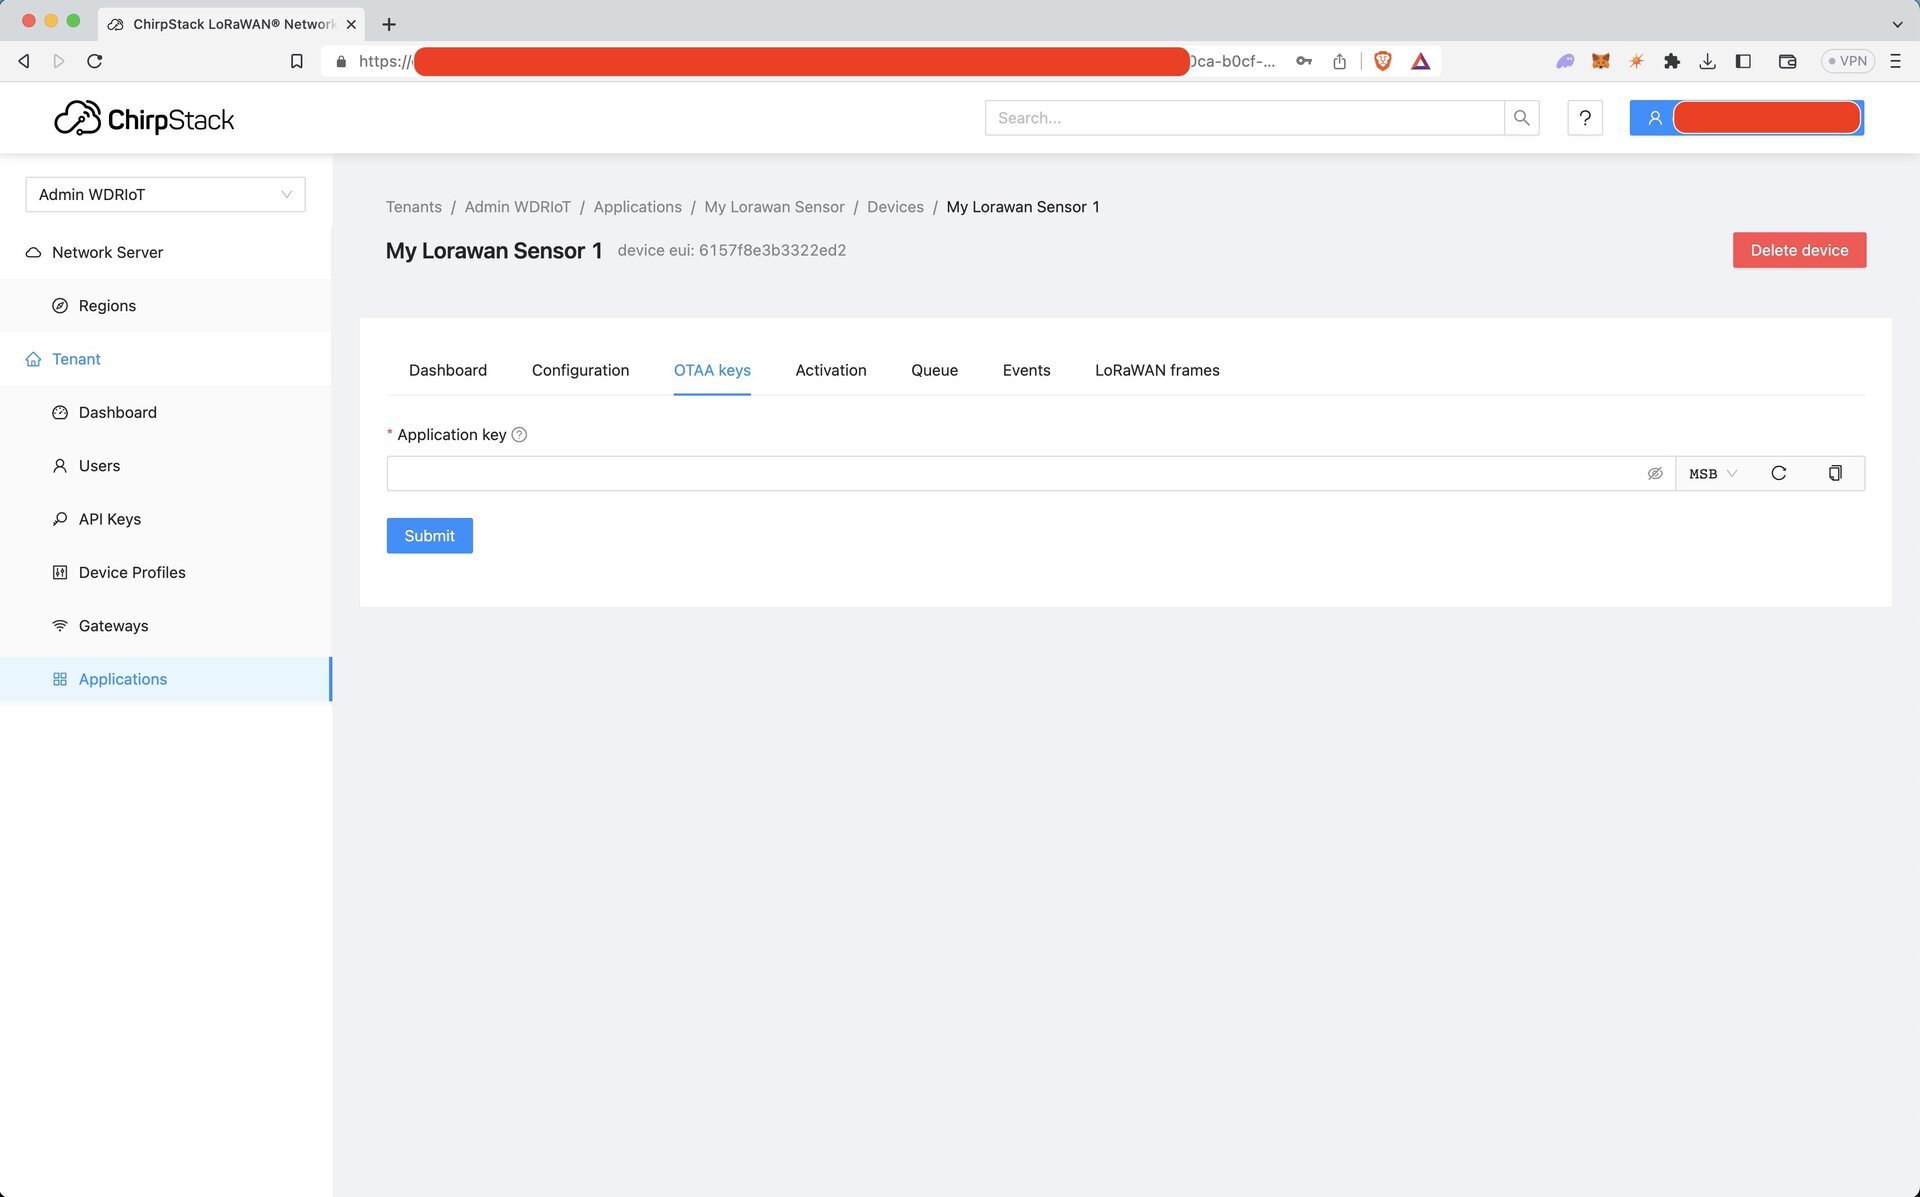
The AppKey will be shown in the next step, so don't worry about finding it yet.
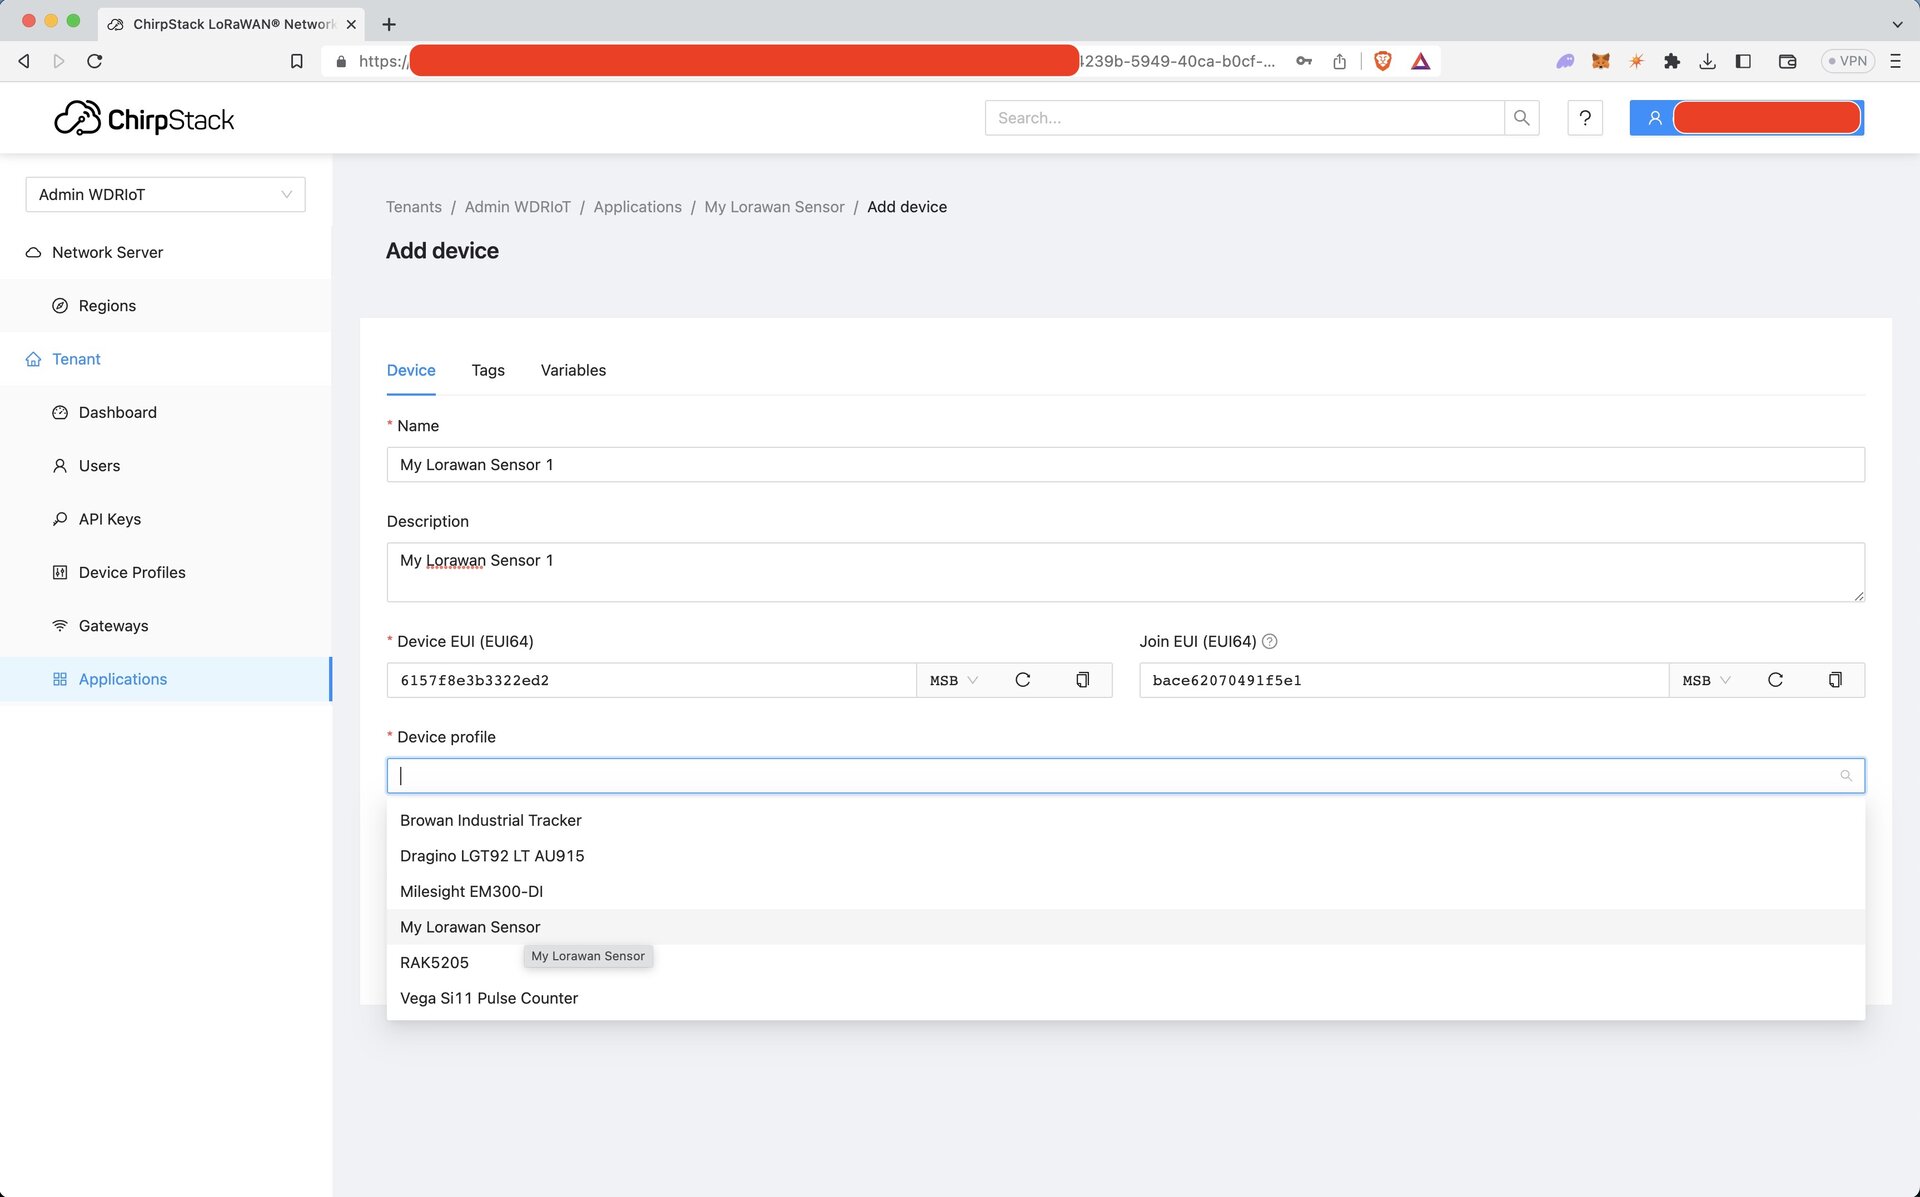
Click Submit when done.
Enter the application key or generate a new one by pressing the ↻ button.
Click Submit once you enter the application key.
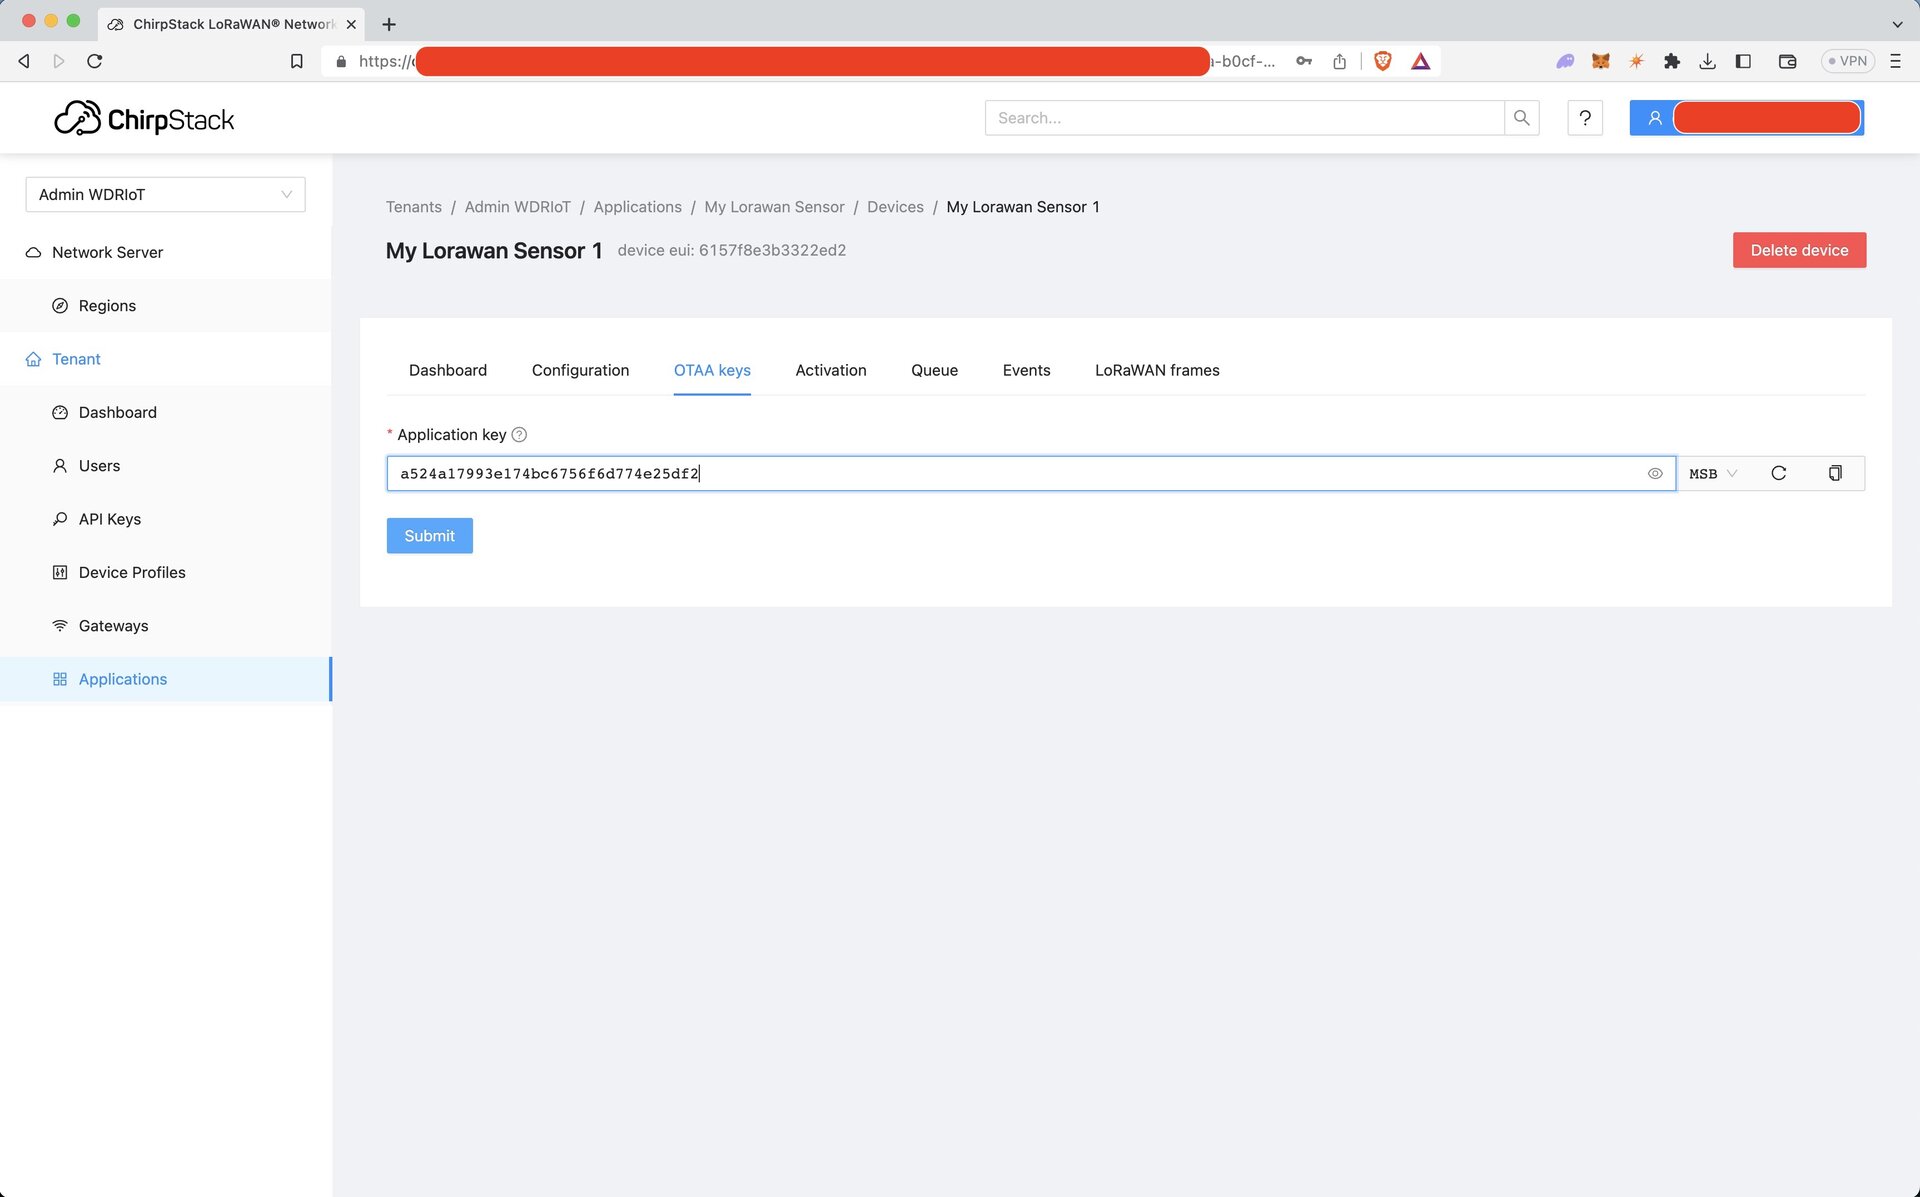
Your device should be created and listed in the application. The LoRaWAN frames tab will display
a live view of payloads being delivered to the LNS.
Additional devices can be added to the existing Application.